<< back
Looking at the stripes present in both the Kartrak method of scanning and labeling carts, along with the overall form of a QR code being a square, both of these reminded me visually of this paper weaving pattern I used to do as a kid.
I decided to literally translate this weaving pattern into the foam in hopes that this would allow me to both experiment with the malleability of the material, as well as provide a base for the information to then be imposed on to. I figured that it could be challenging to do this correctly as I had no real idea on how to create these "strips" out of a material that both expands and sticks to everything due to its insulating nature.
Regardless, I went on.
Taking into consideration the requirement for the foam to be malleable while it's setting, I needed to use something that would both contain the material and be able to move itself for me to then construct the woven pattern. I thought about using plastic sheets, but those, even when cut in parts to make them bend, allowed material to seep through, so this approach was a bust.
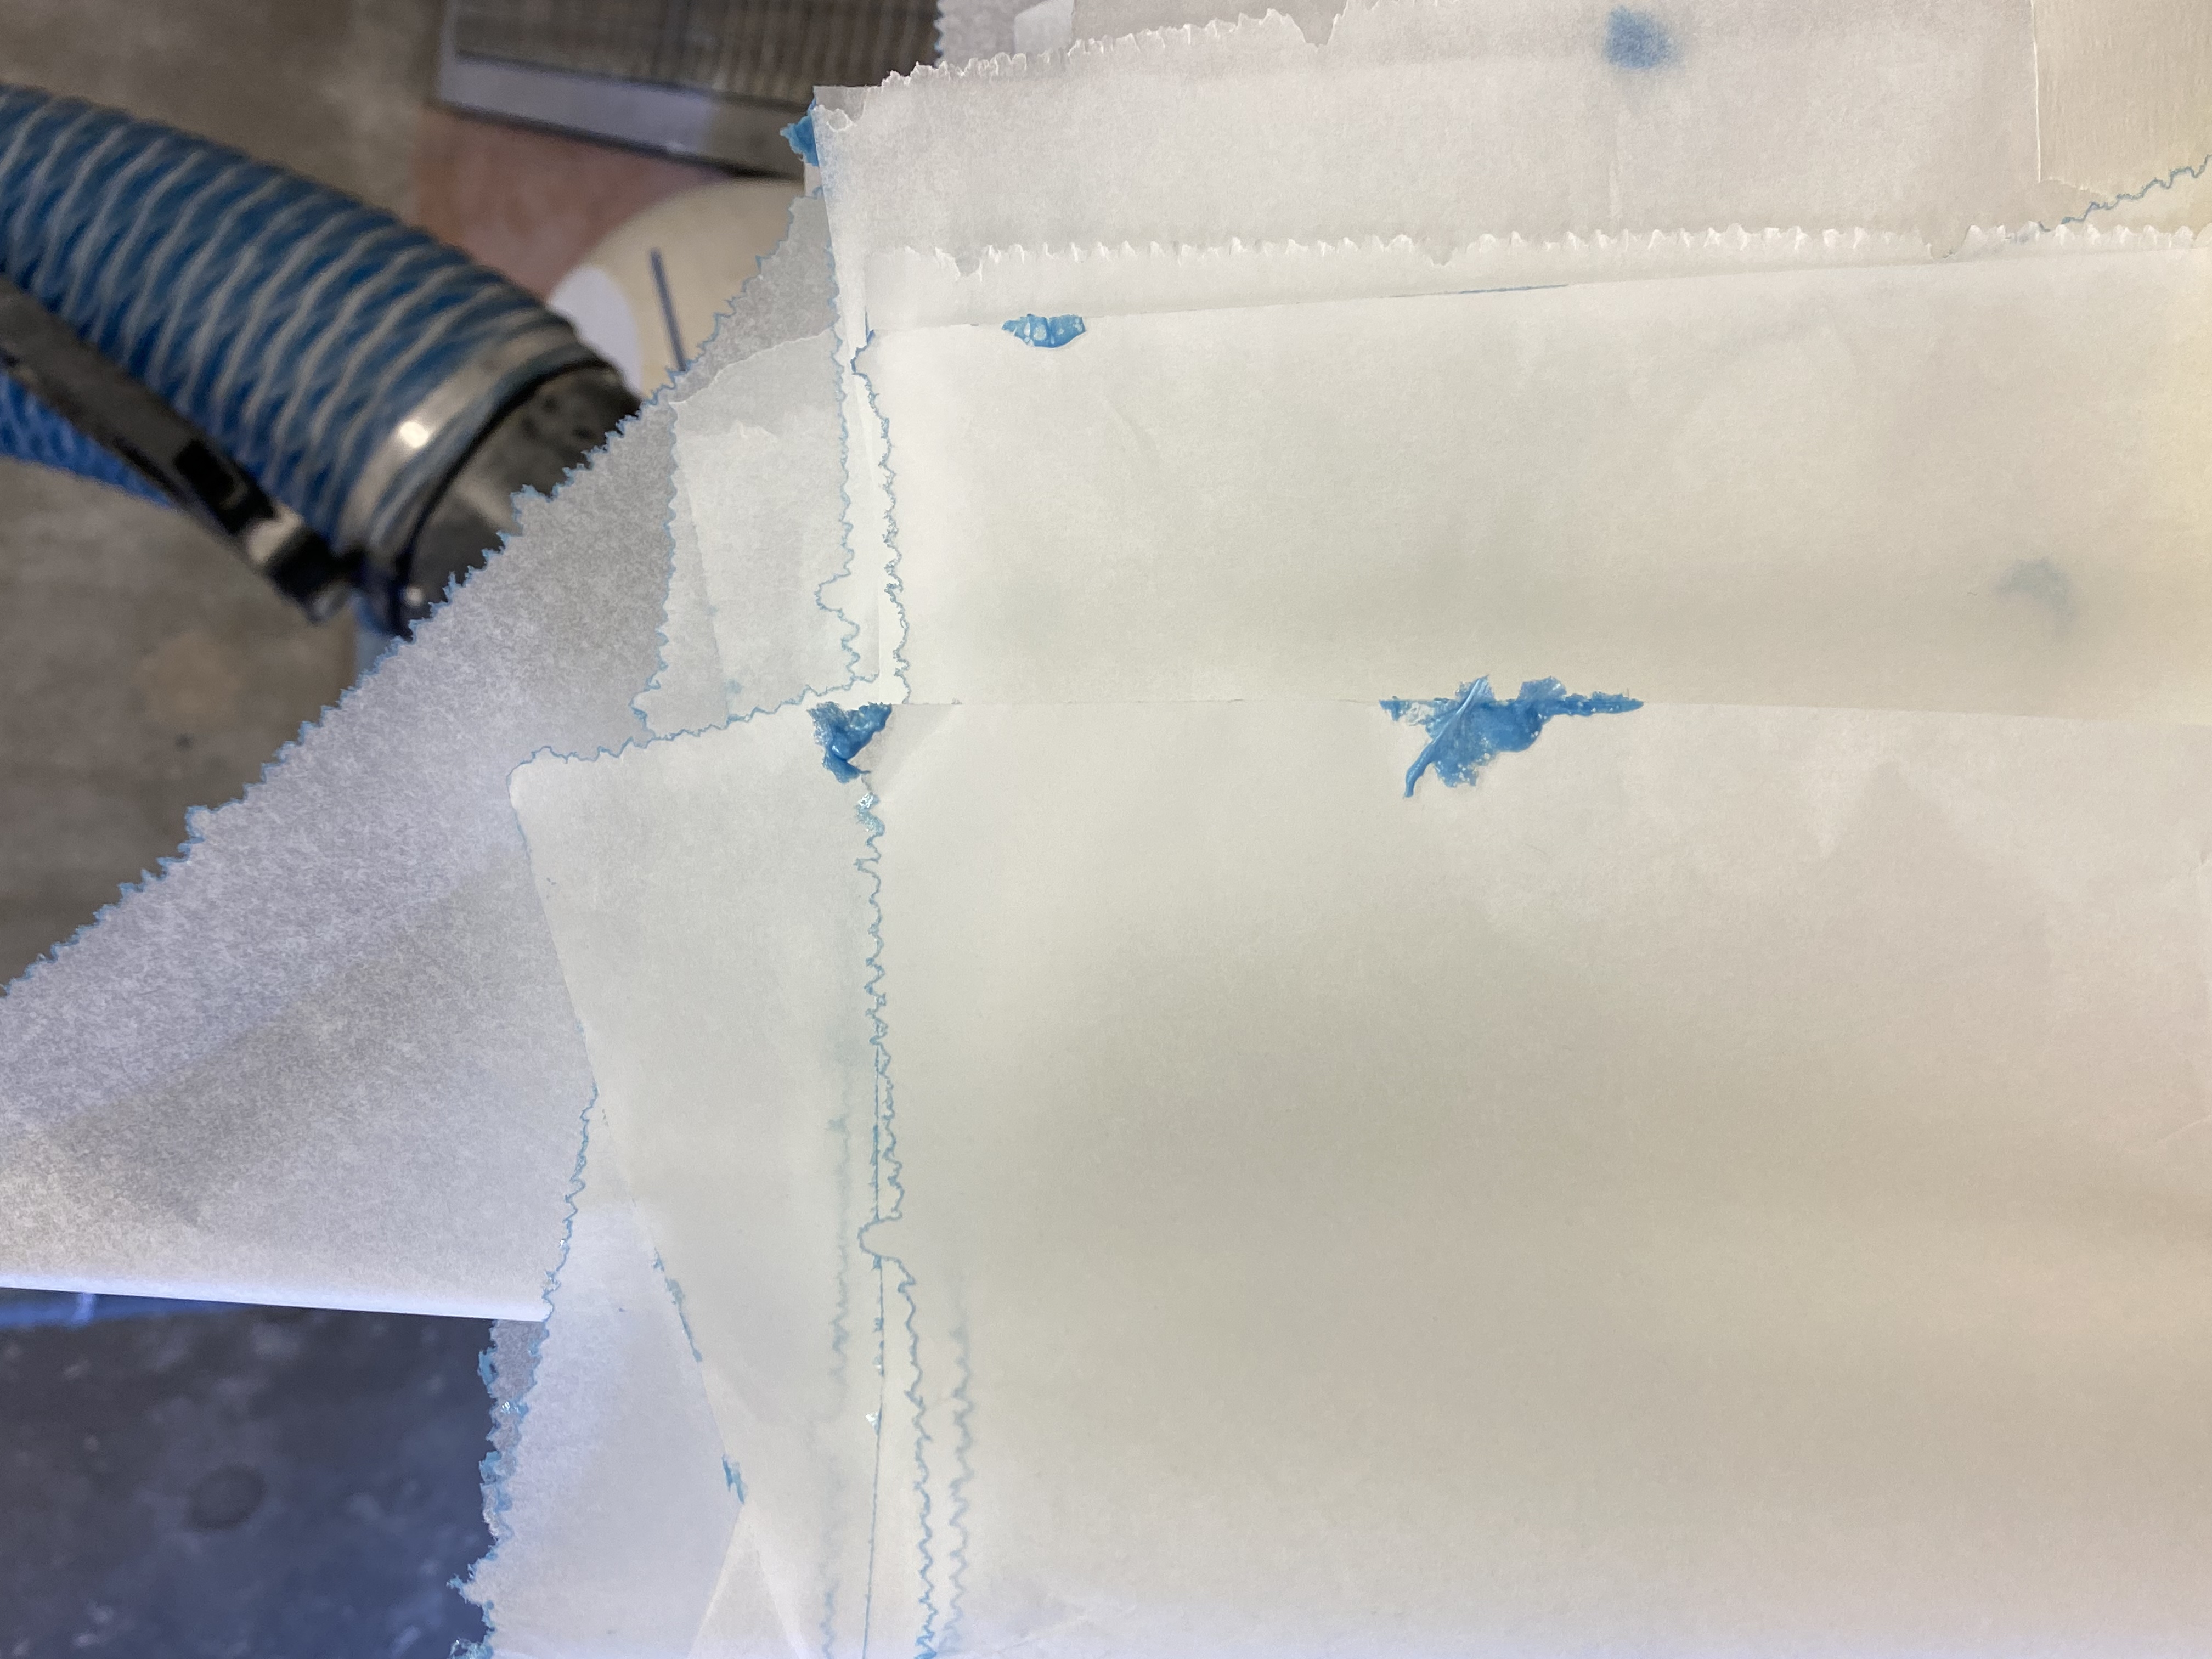
I then tried baking paper as it has the non-stick quality proven to work during quarantine as I was baking a lot.
I tried this method out by spraying some material onto the paper, waiting 8 hours for it to set, and then seeing whether it would un-stick, and IT DID!
This was great news as I would now be able to move on with creating the strips of material required for the next step.
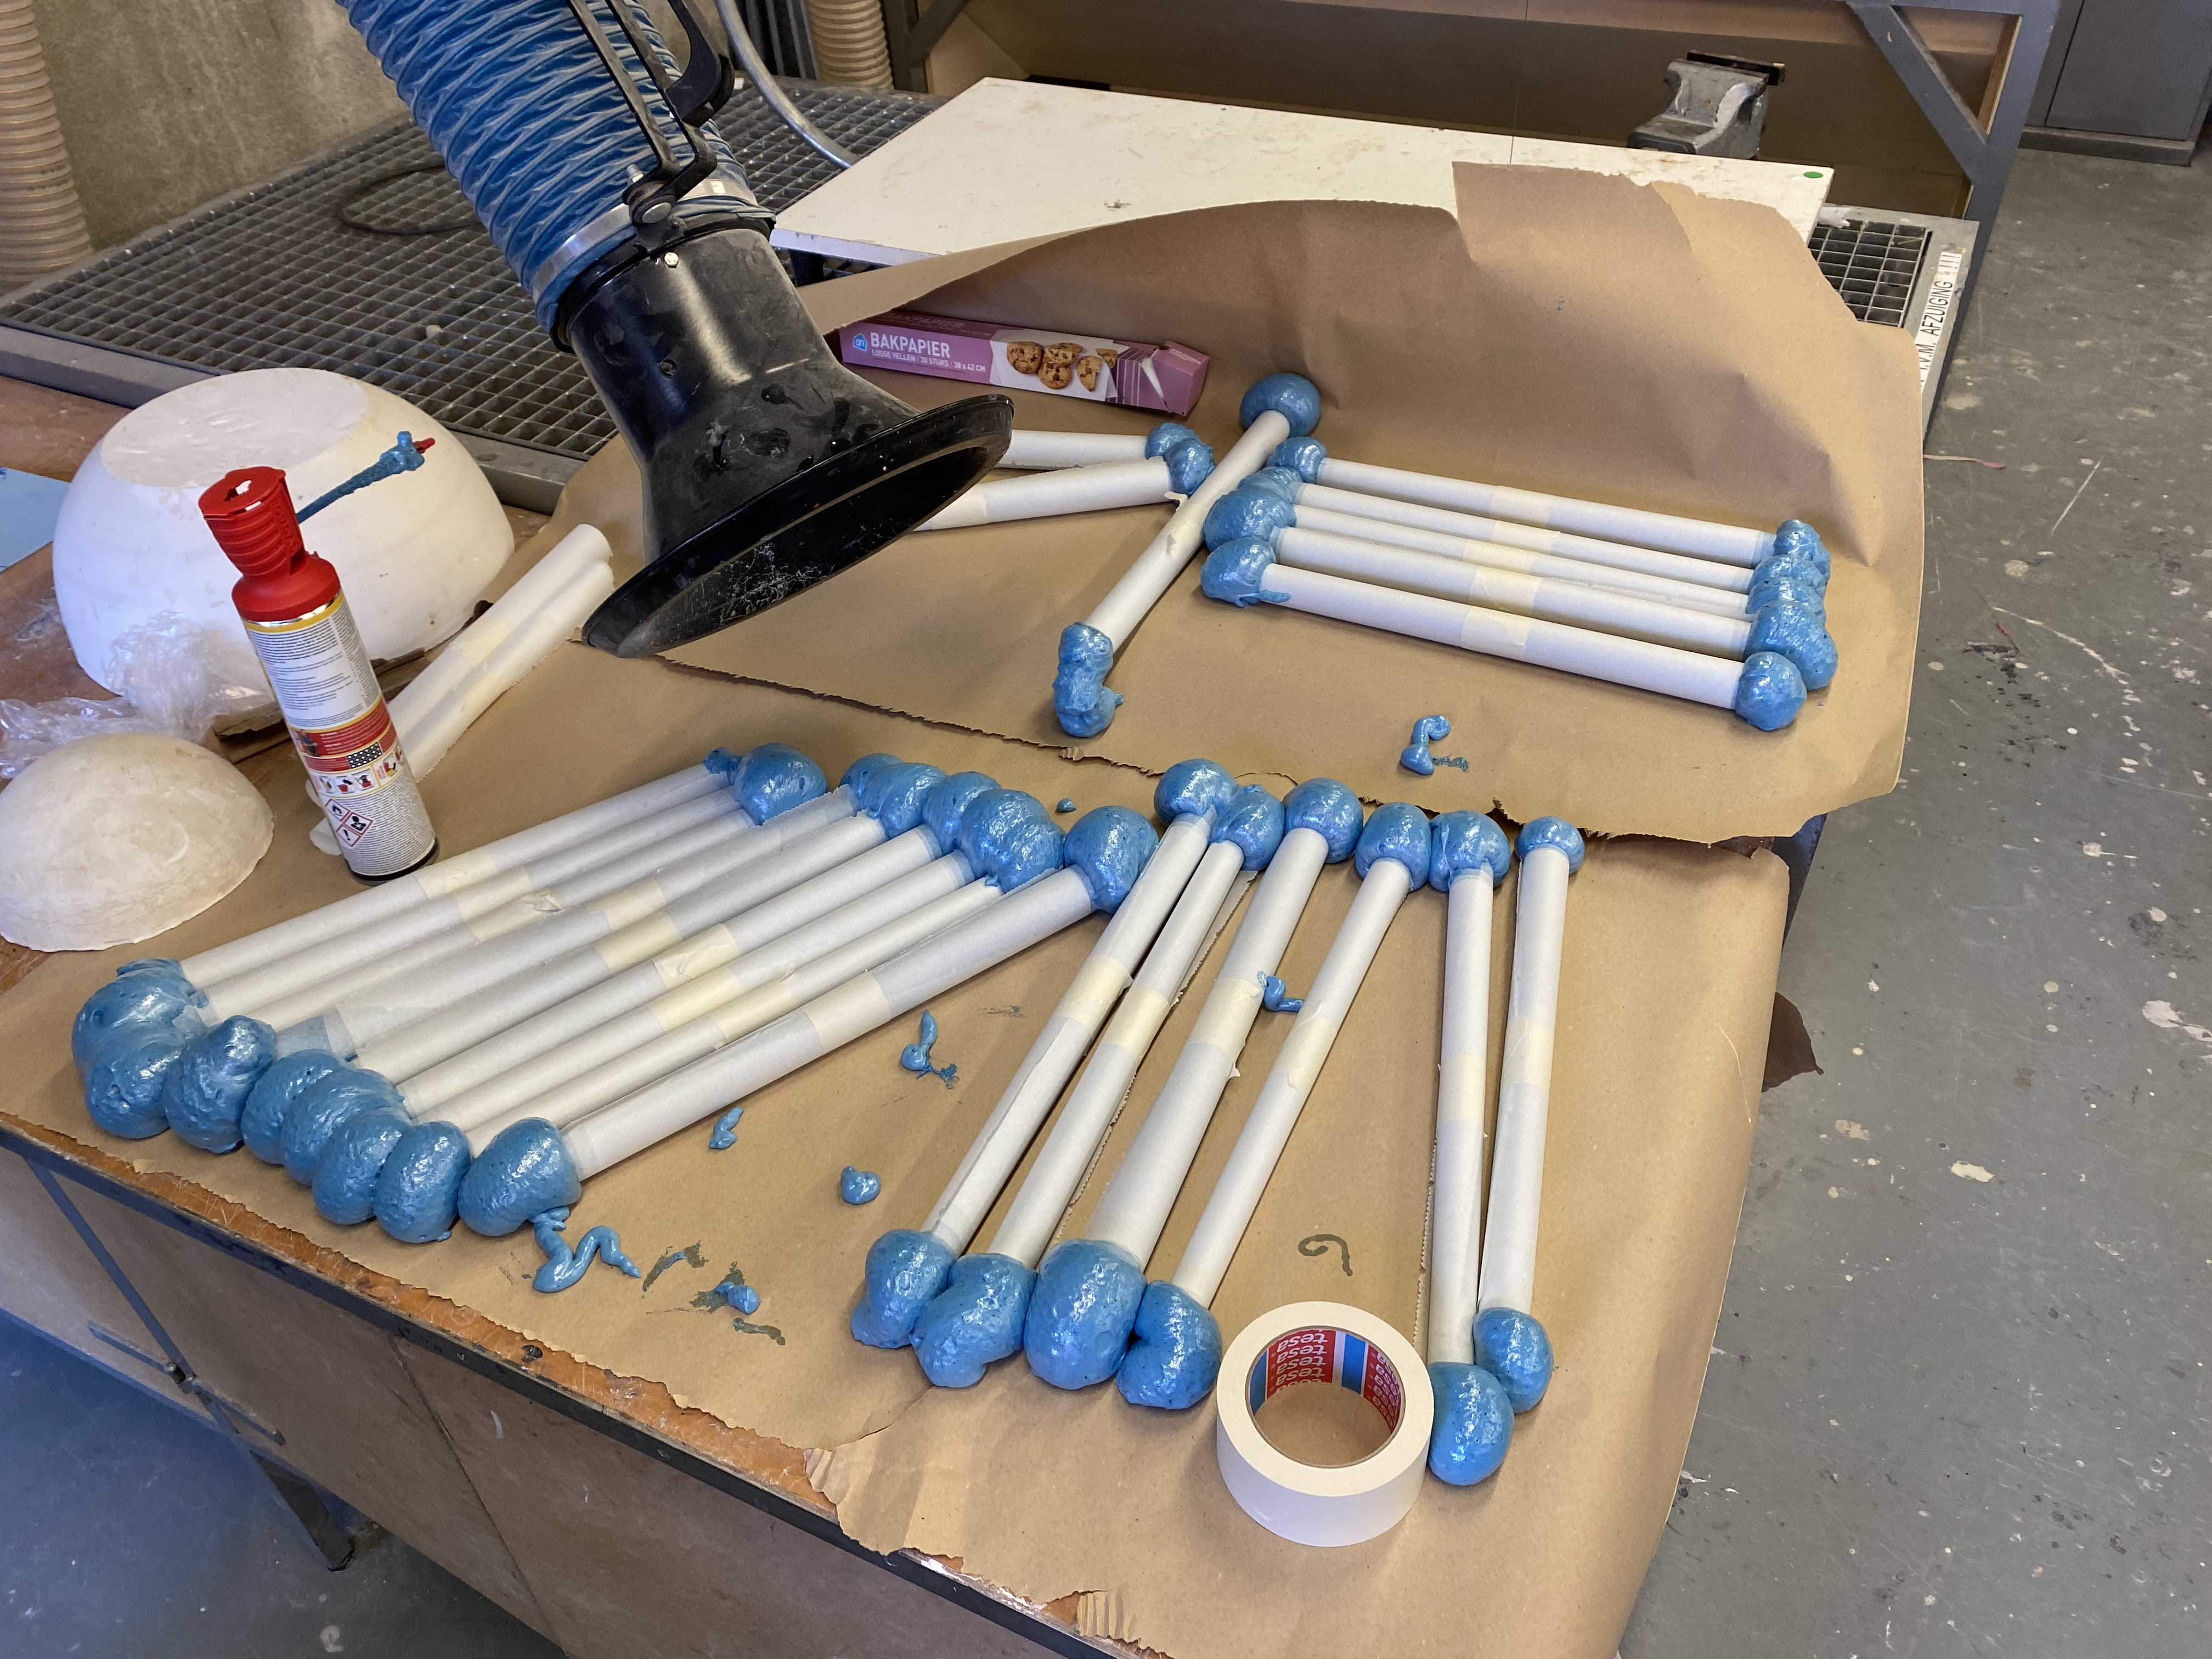
Without counting, really, I decided to just create rolls of baking paper, tape them in the middle so as to prevent unrolling while the material is curing, and using a nozzle on the expanding foam container to start spraying the material into the middle of the baking paper roll, spraying just enough into both sides to allow for the expanding quality to fill up the rest.
To my surprise, the material expanded even more than I thought it would (as I thought it would not expand more given the lack of air intake and air flow when in the roll).
After just 20 minutes, the rolls were overflowing and seeping out of the rolled tube. This wasn't that big of a problem though as this only meant that the entire area of the roll inside would be filled up and uniform in terms of shape.
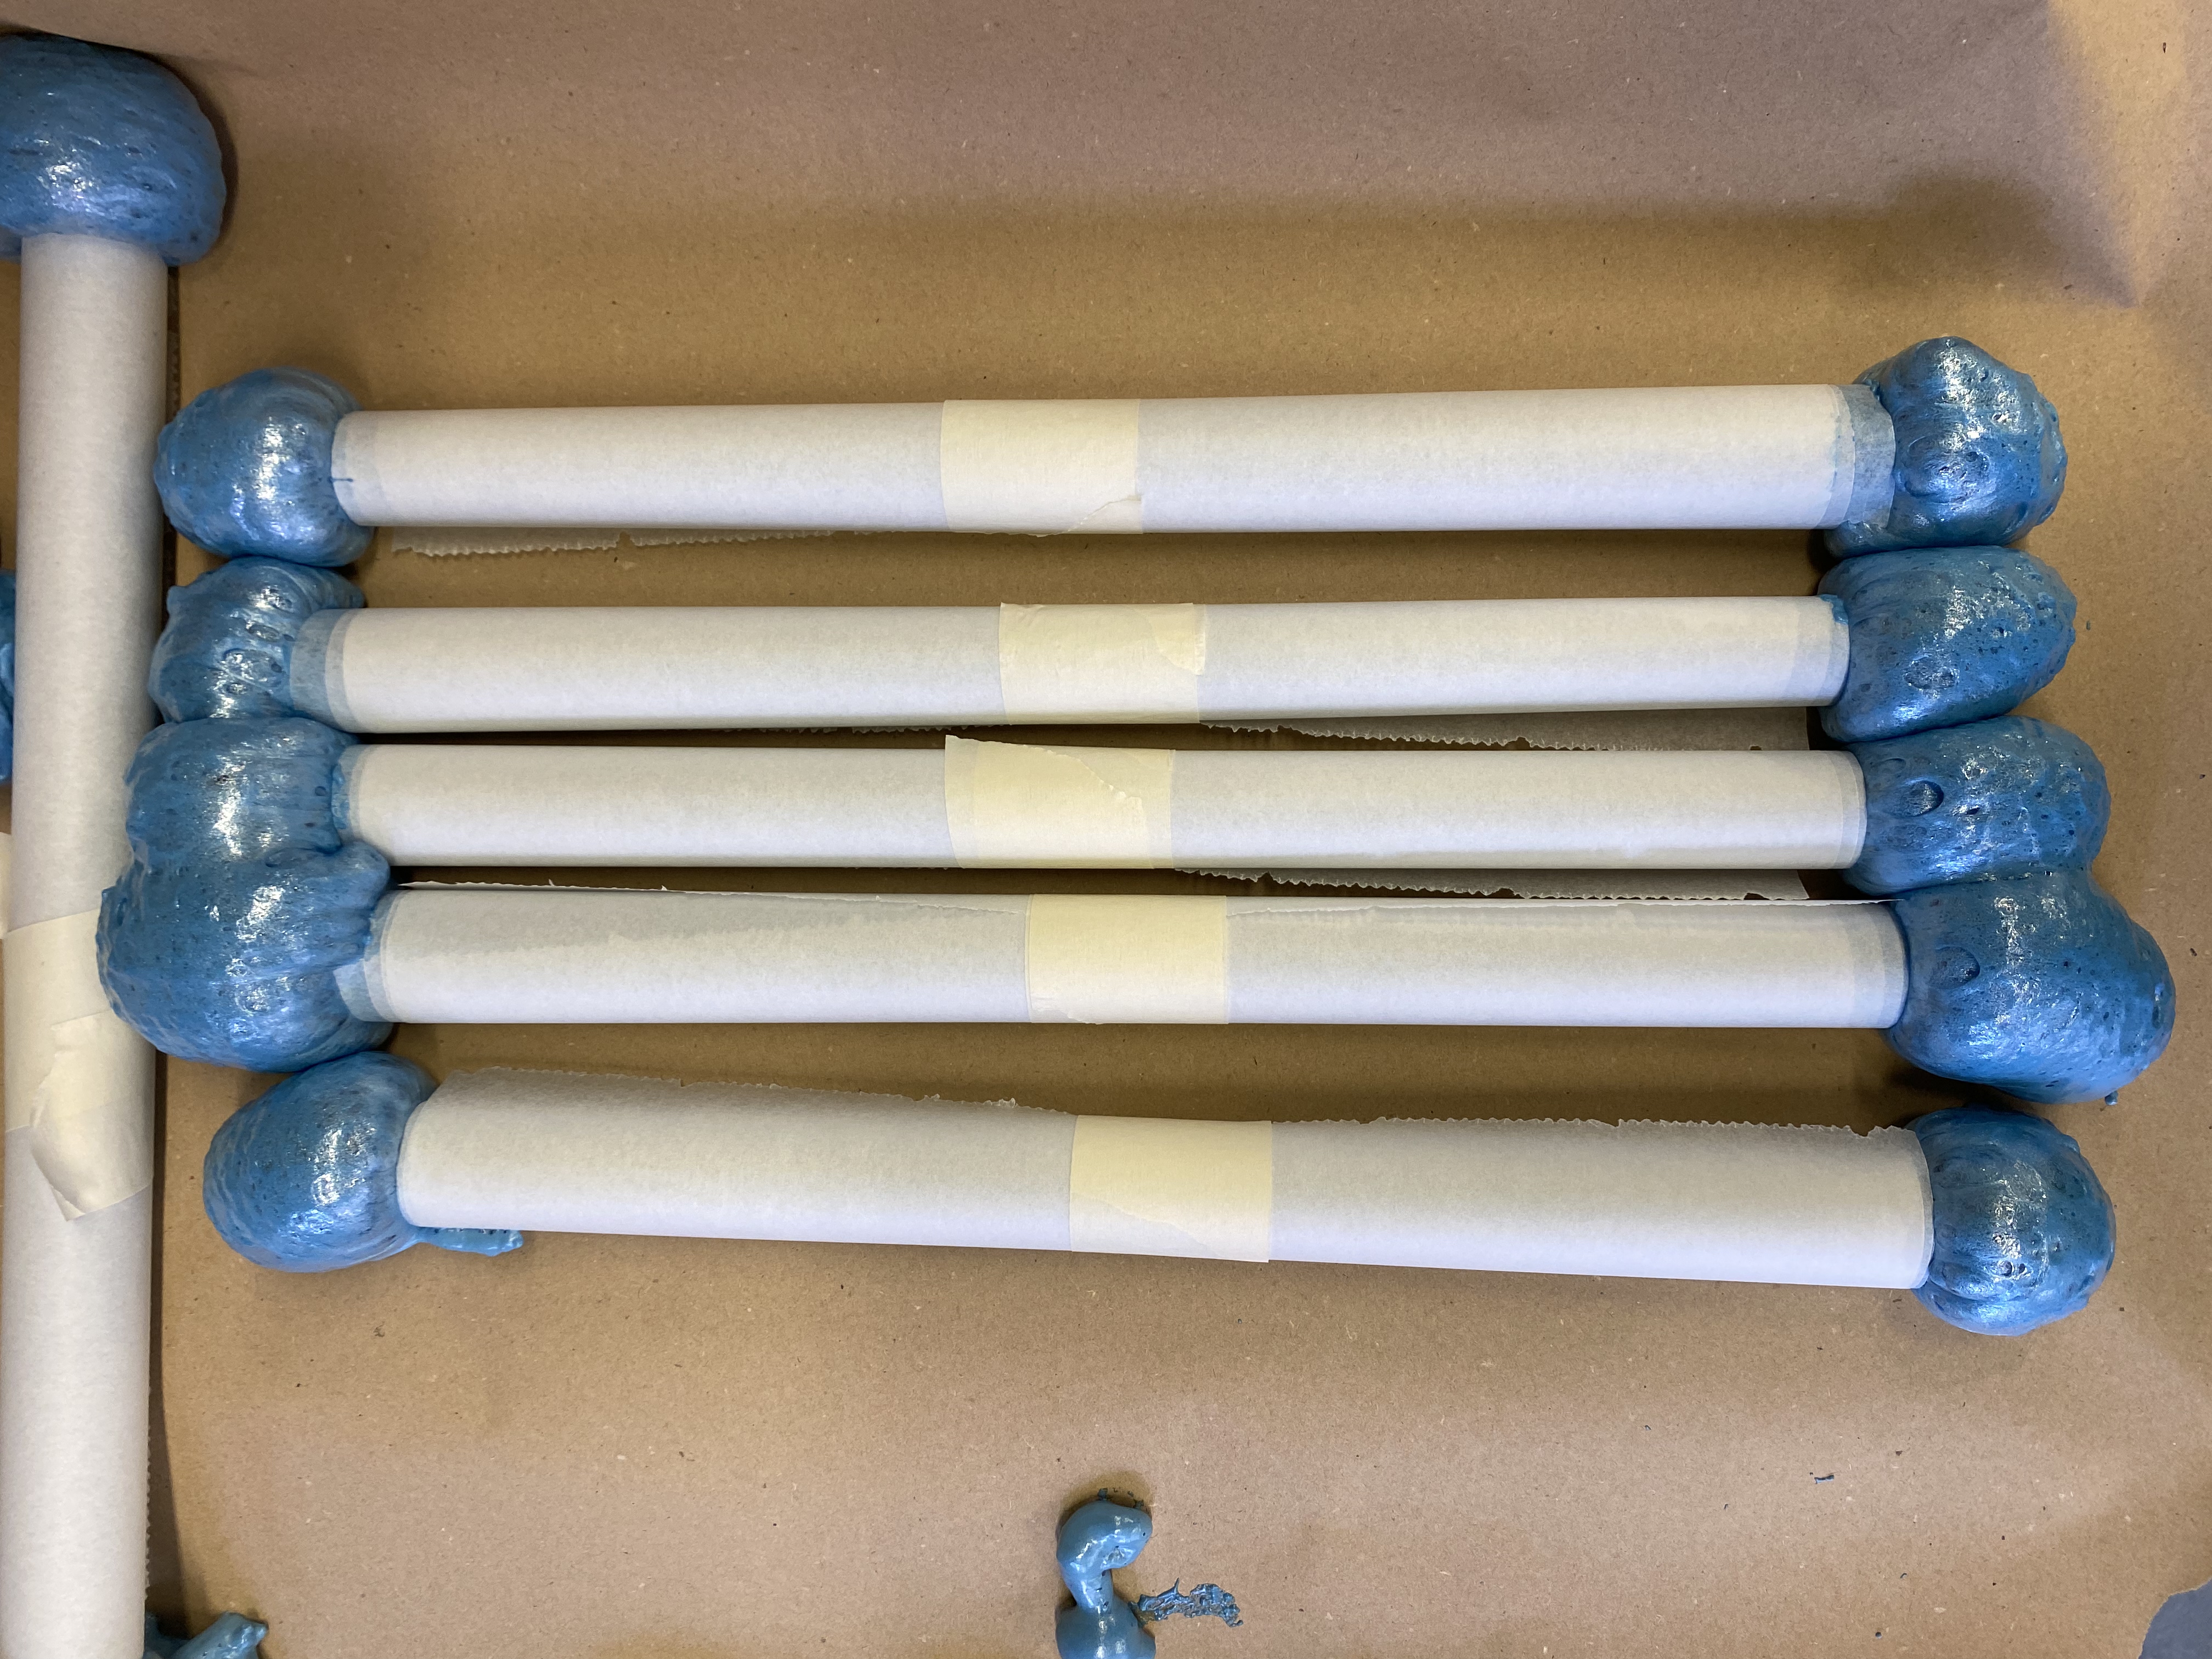
The next day, I unrolled the tubes and inspected every roll to see whether my suspicion of the limited airflow impacting the curing was correct. To my surprise, most of the rolls were fine, with the exception of 2 where the middle of the roll did not combine and instead expanded outward toward airflow.
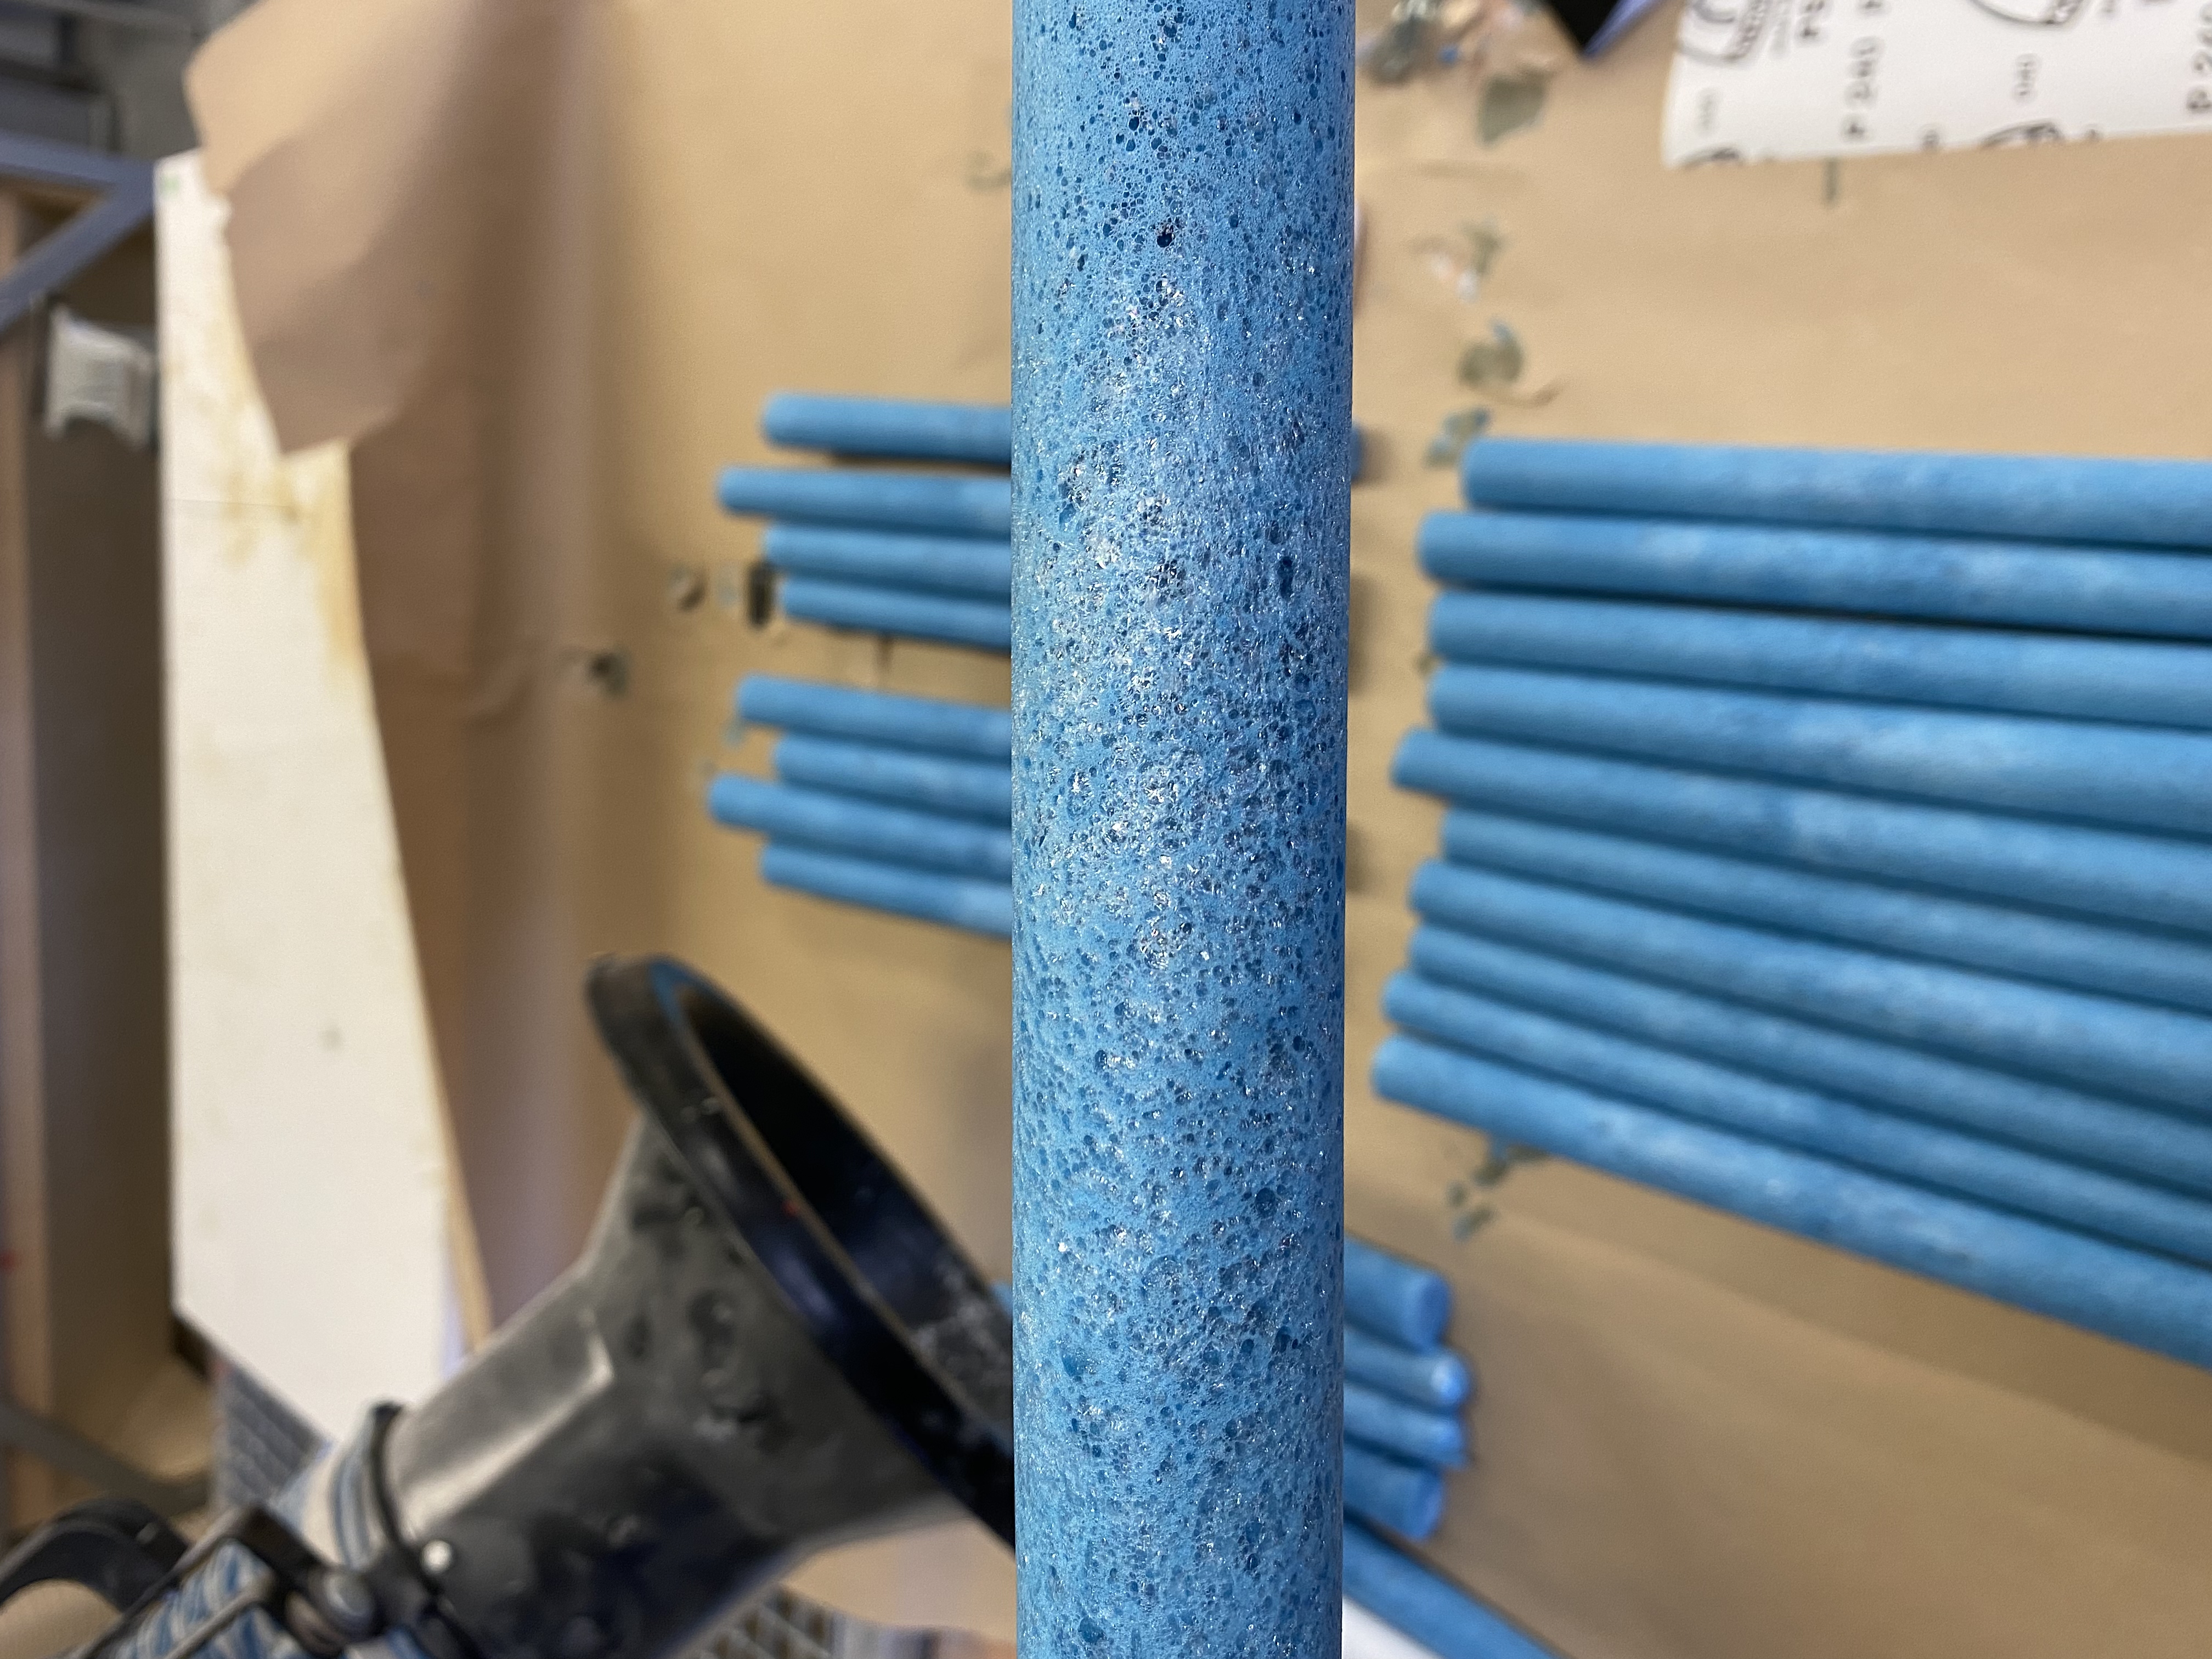
I have also noticed that the middle of nearly all rolls seemed much more fragile, and was constructed from much thinner fibers that almost seemed white or reflective. I noticed that if I pressed down on them, they were easier to "shatter", which was interesting as the overall material seemed to be very shock-absorbing, stretchy and would return back to its shape in the span of a couple minutes.
I wasn't sure how this would impact the sun bleaching method that I had planned for it, as the previous expanding foam material I had been working with wasn't stretchy at all, and would break if pushed too hard.
Regardless, I continued on with the weaving process with the thought that the malleable quality of the material would help out when weaving the material.

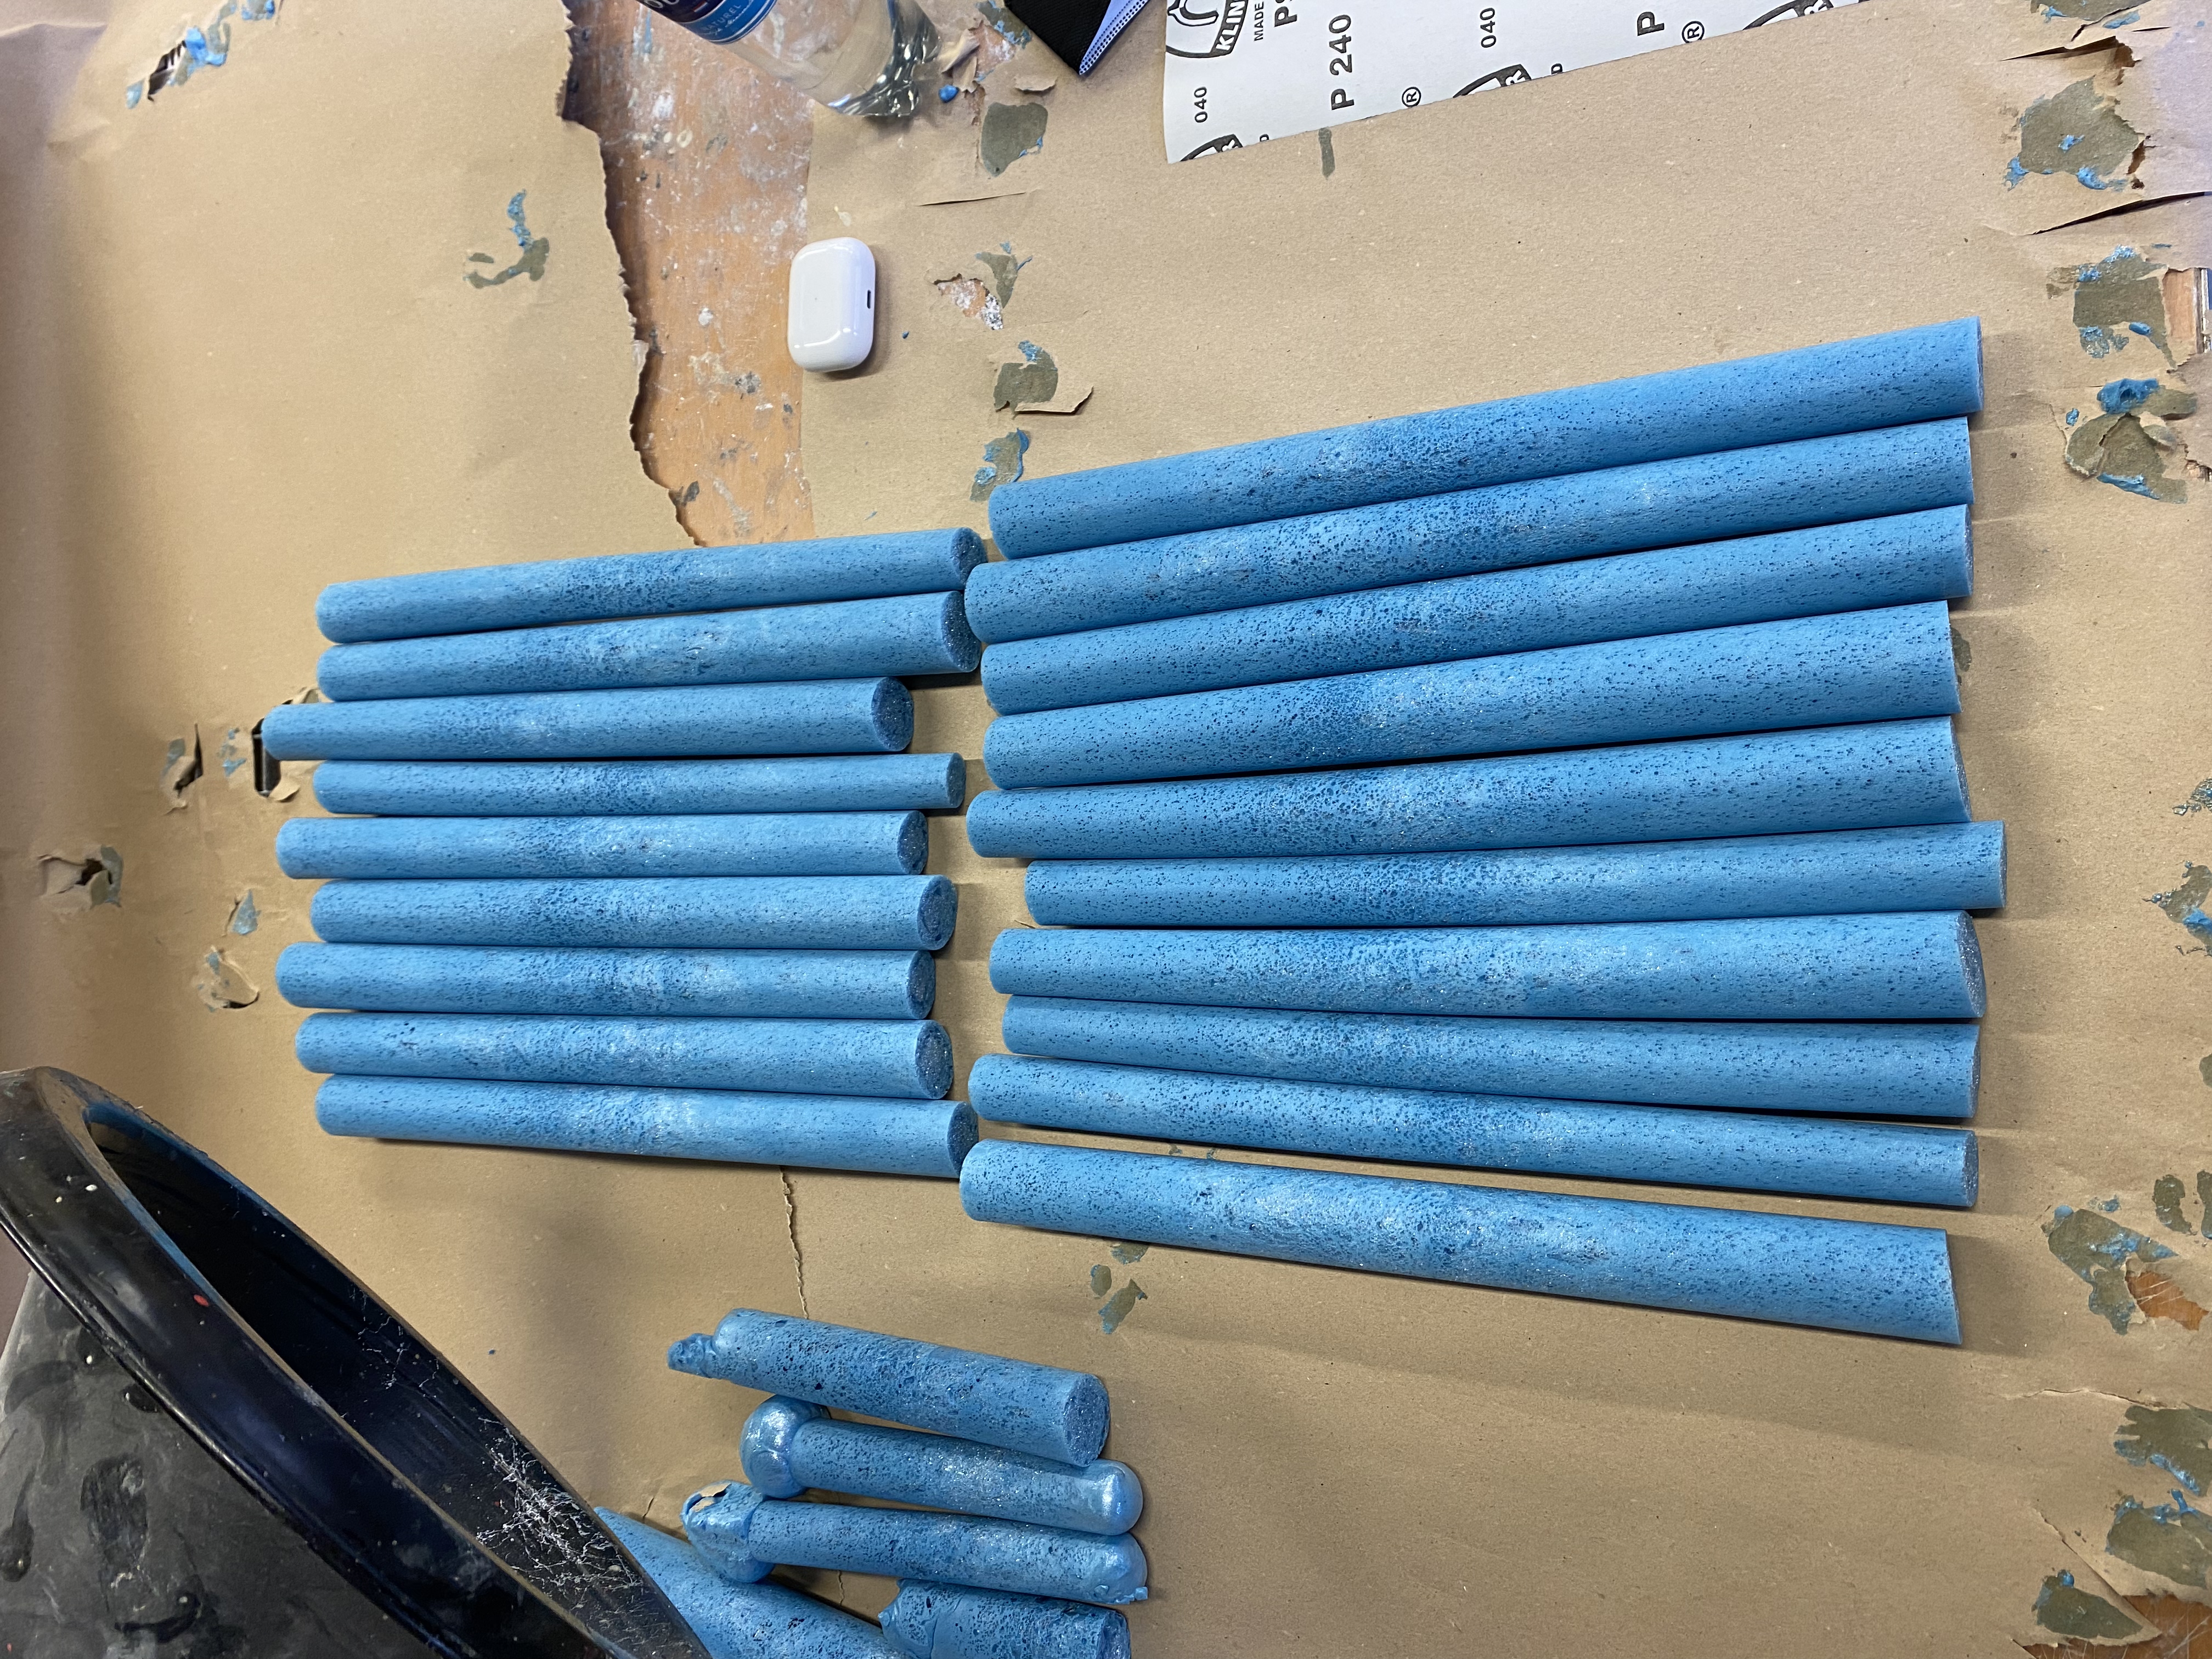
Another observation were the "rings" you can see around the middle of the material, present in almost all of the rolls. I do not know what created them as I had left these rolls to cure overnight in a ventilated room, so nothing could have moved them.
My thought is that it might have warmed up slightly while expanding, impacting the texture within the roll, however this material isn't known to do that.
My second guess is that restricted airflow in the baking paper roll had something to do with it, though I do not see how this could impact my plan for this material, so I simply ignored these rings.
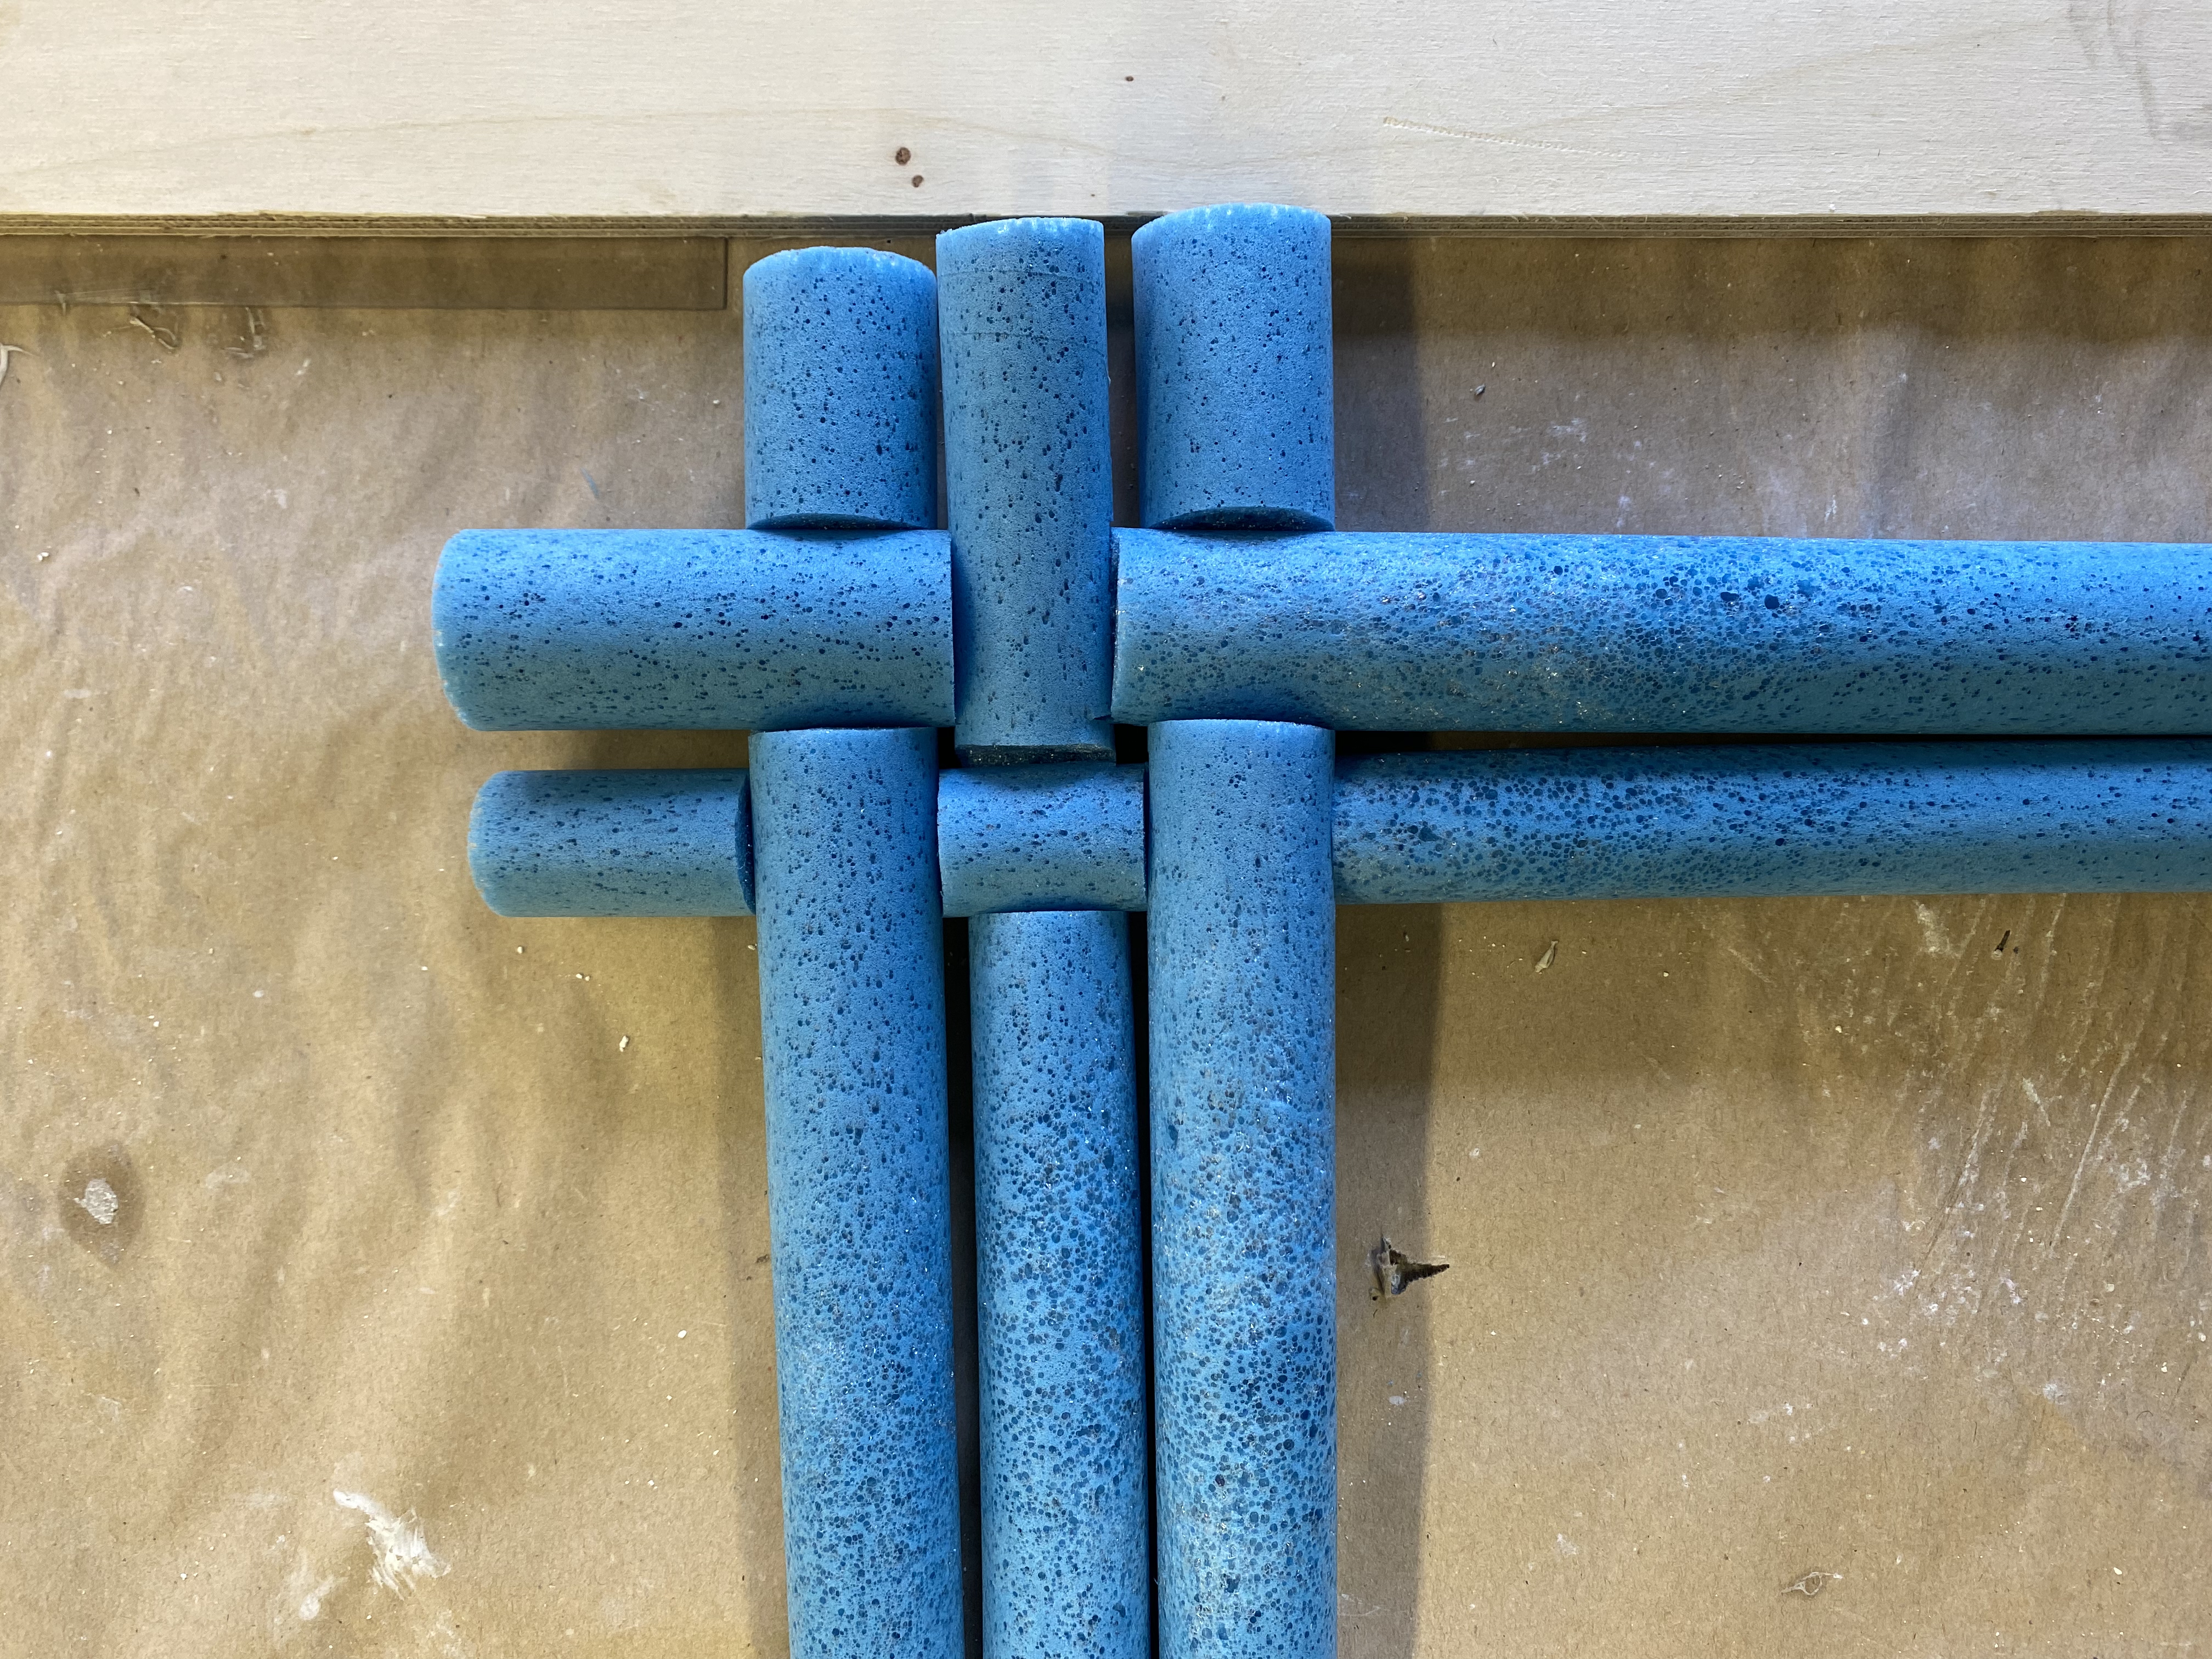
Here, I started cutting into the material using a very sharp knife so as to make grooves that the other piece of the material could fit in to. This directly follows the paper mock-up of the woven pattern, so it was just a question of how long it would take me to complete the entire thing.
I did realize quite early on that this would limit my choices of how to impose information onto the material. While using the sun to bleach information onto the surface of the material is a choice, seeing how it now has grooves in it , I could not use, let's say, a CNC milling machine or a laser cutter to cut info into the material, as this would destroy the woven pattern connections entirely.
So I restarted, this time focusing on actually weaving everything together without cutting.
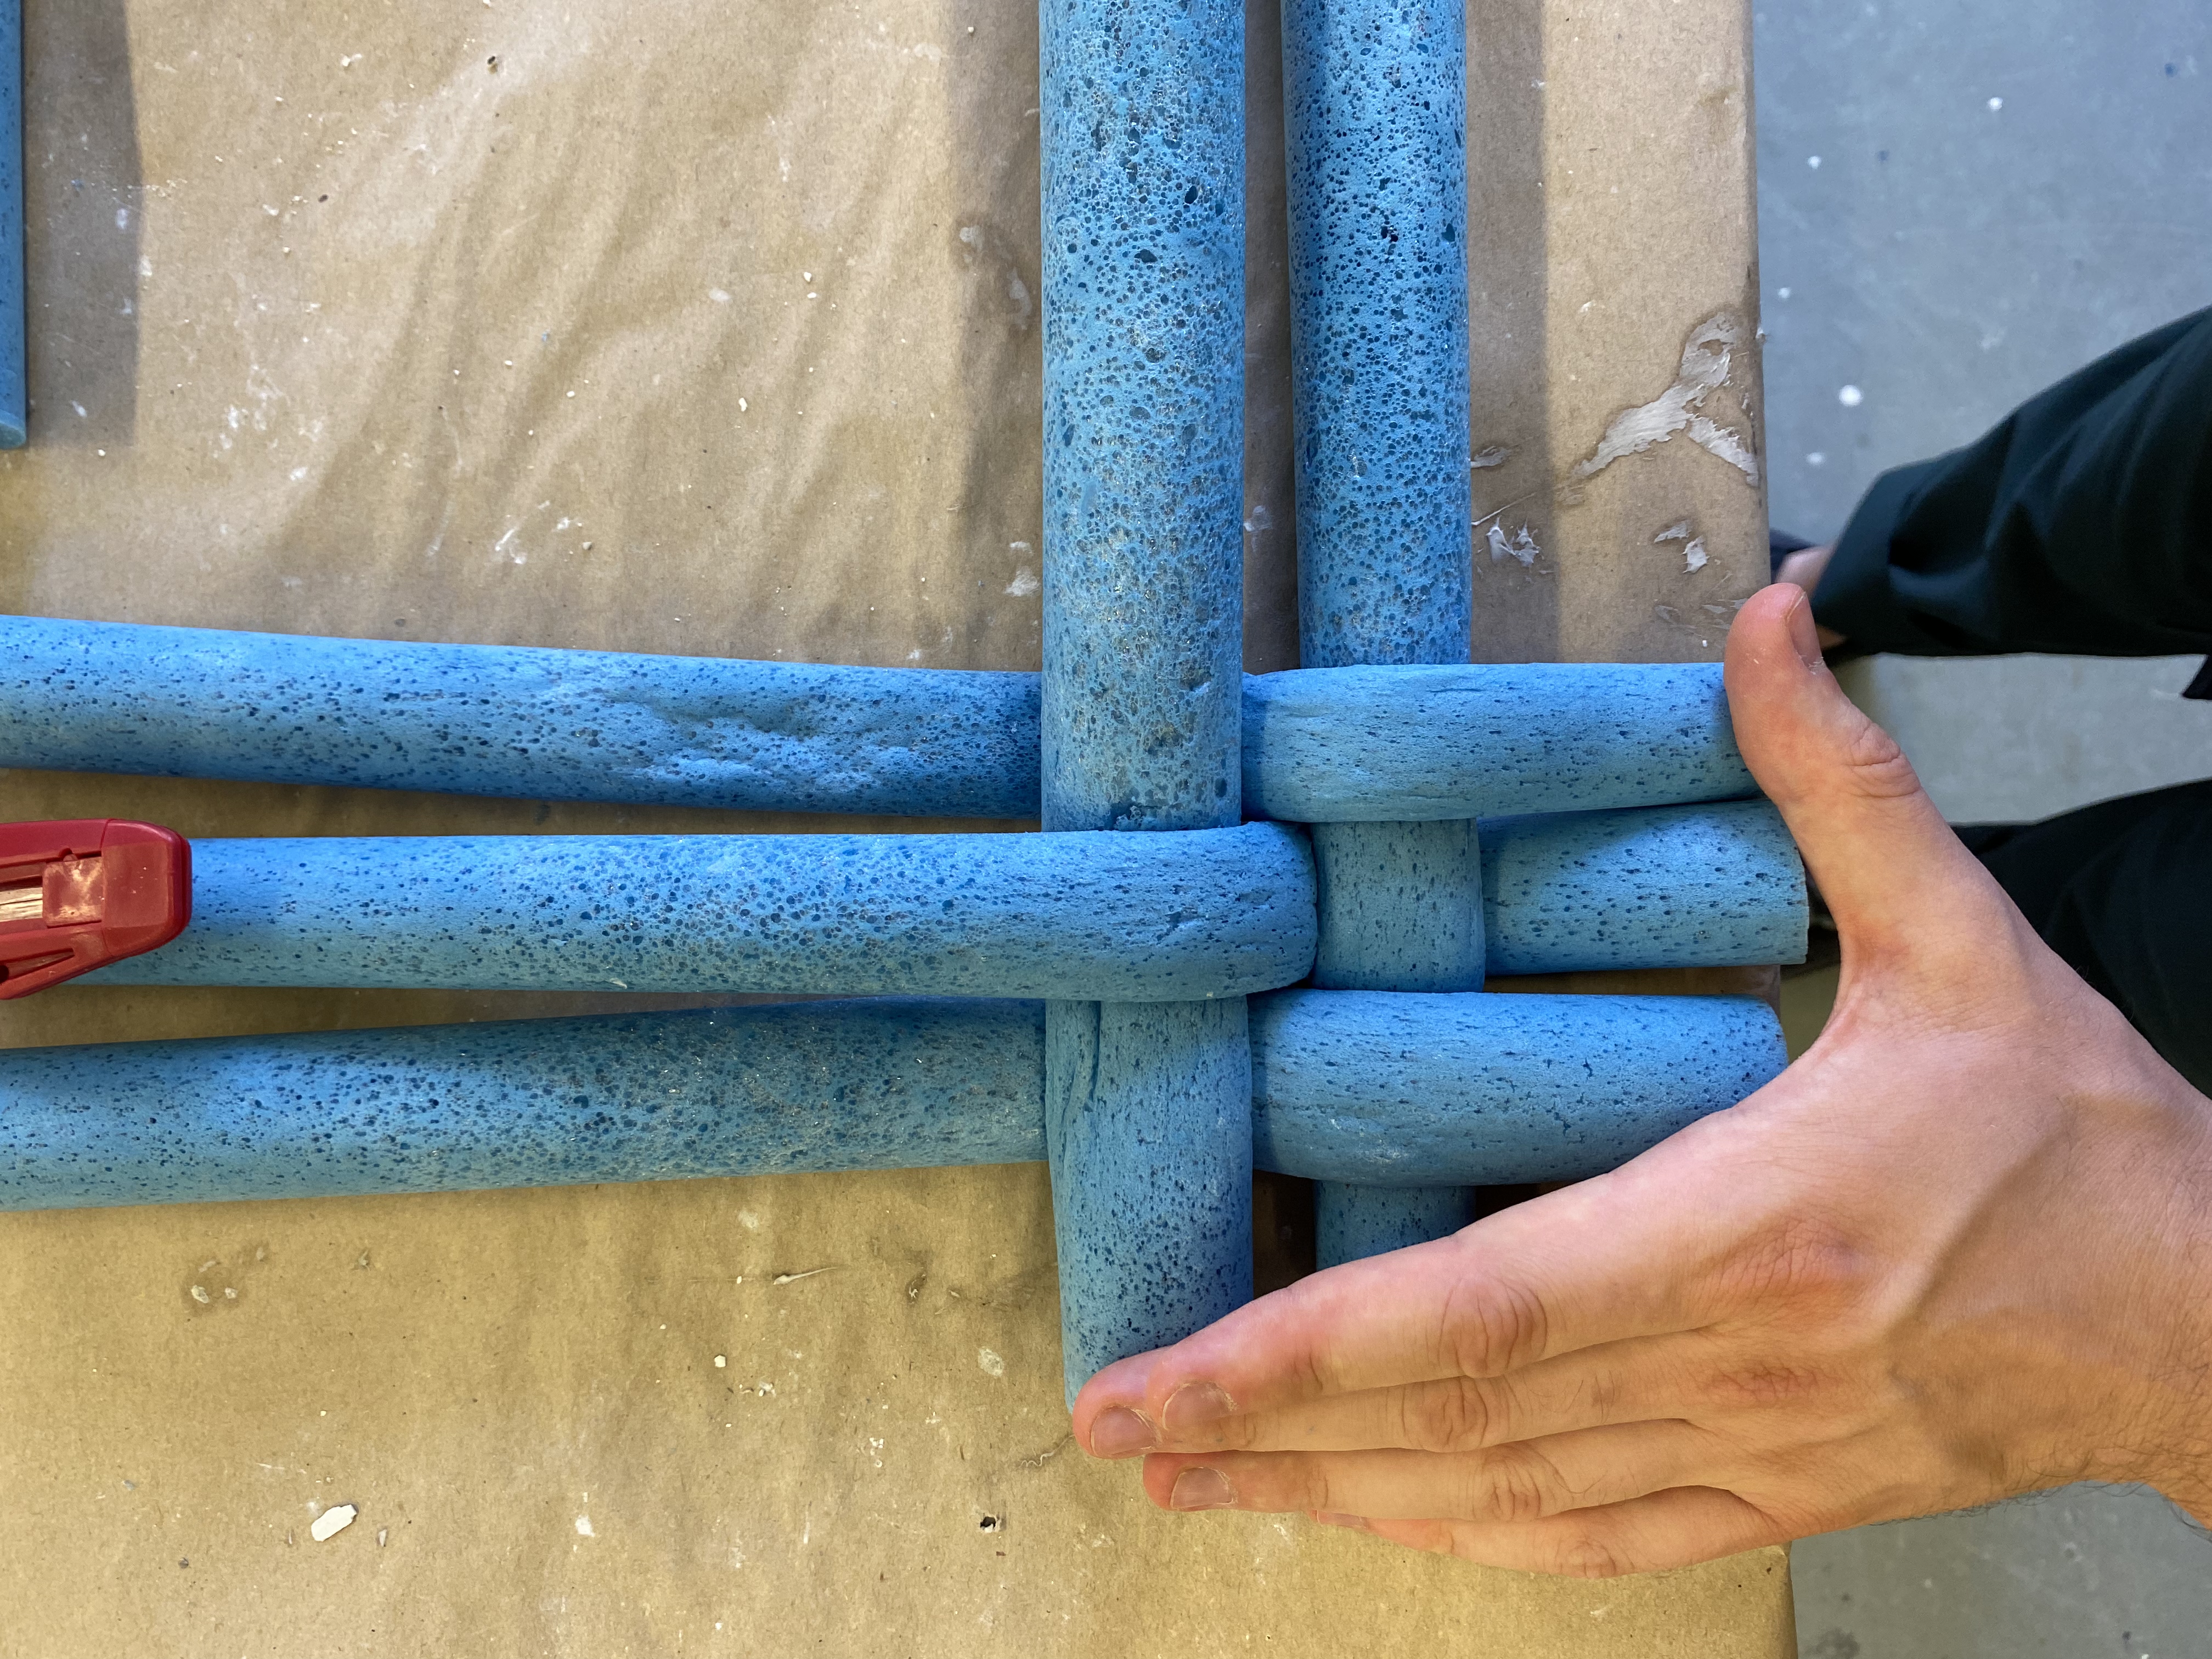
This was very difficult to pull of as the material, seeing how it was still very bendy and malleable, would always try to go back into its original shape. I needed to find a way to destroy the structural integrity of the material, to then bend it/weave it into shape, and only then let it expand.
Besides that, it actually looked promising, as the woven pattern was visible, giving me a solid base to work with.
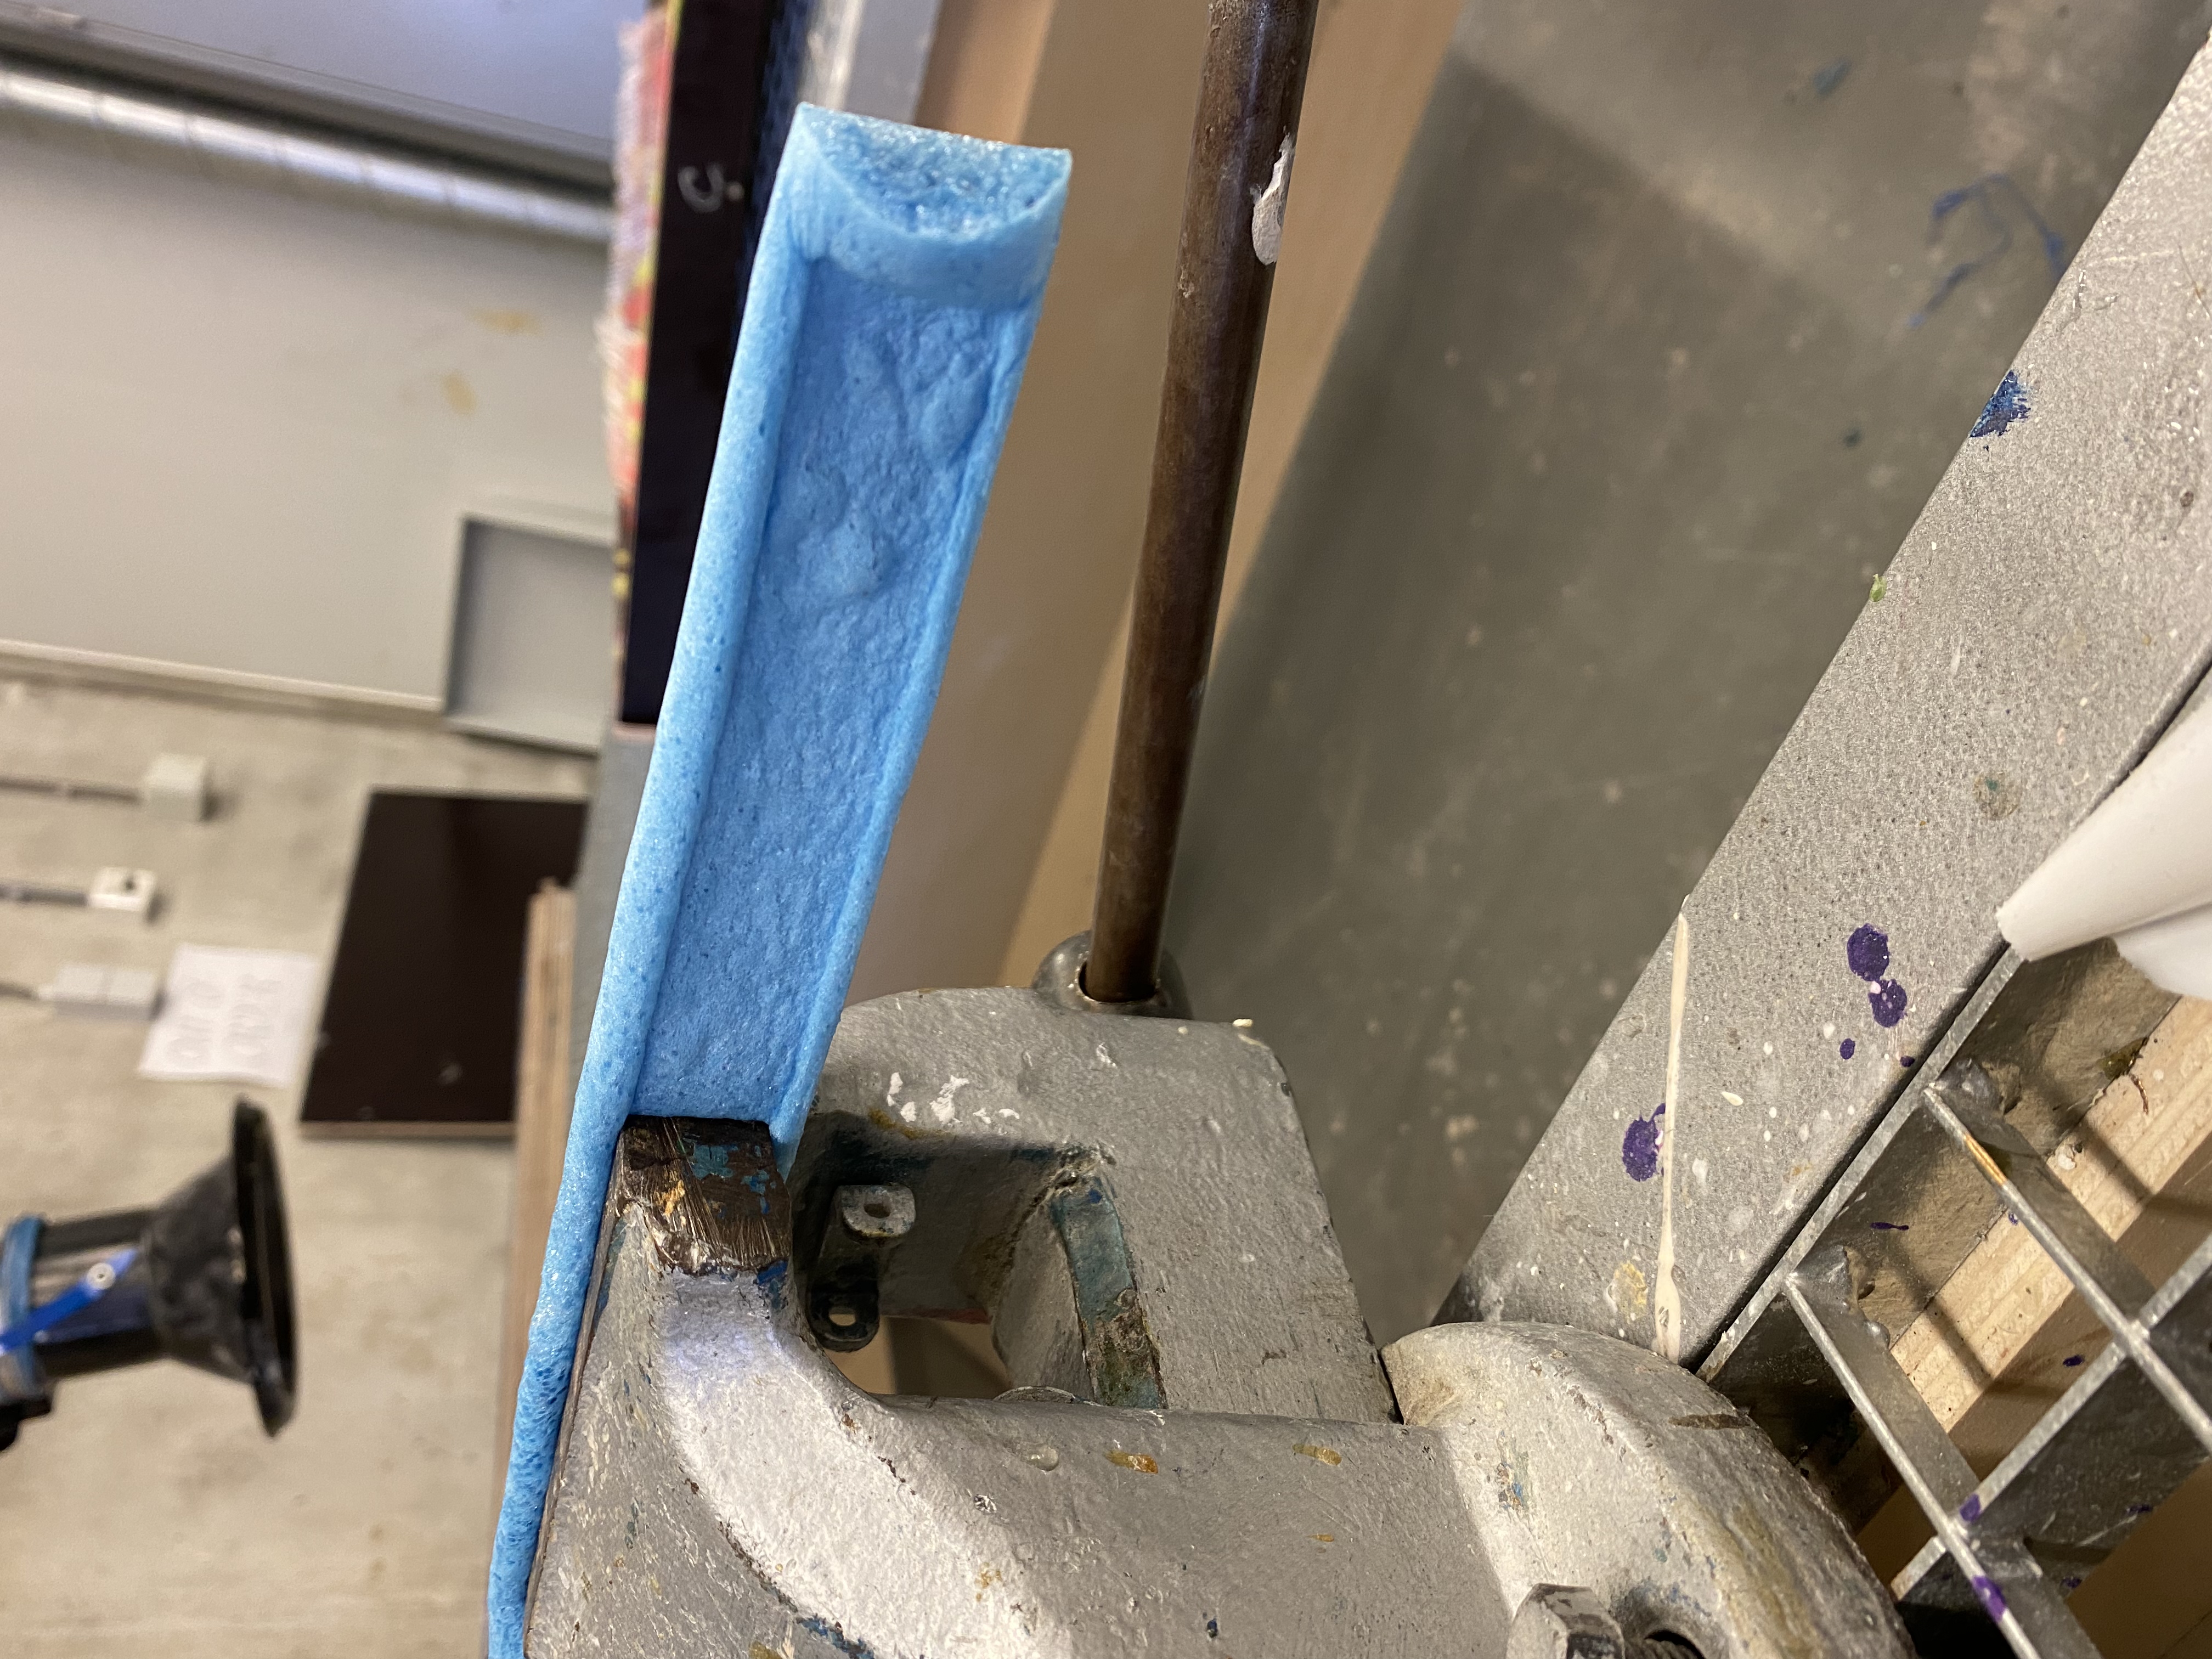
I found this clamp at the ceramics station, and used it to basically destroy all connections within the material, by squishing them using an immense amount of force and letting it stay there for around 5 minutes.
This, surprisingly, did help with making the pattern, it did not, however, destroy the structural integrity of the material, as it would simply spring back into its round shape after around 20 minutes.
Still, I thought I could use this to my advantage after it had been woven into place, as a thinner strip allows for easier construction and bend, and the expansion then sort of "locks" it into place.
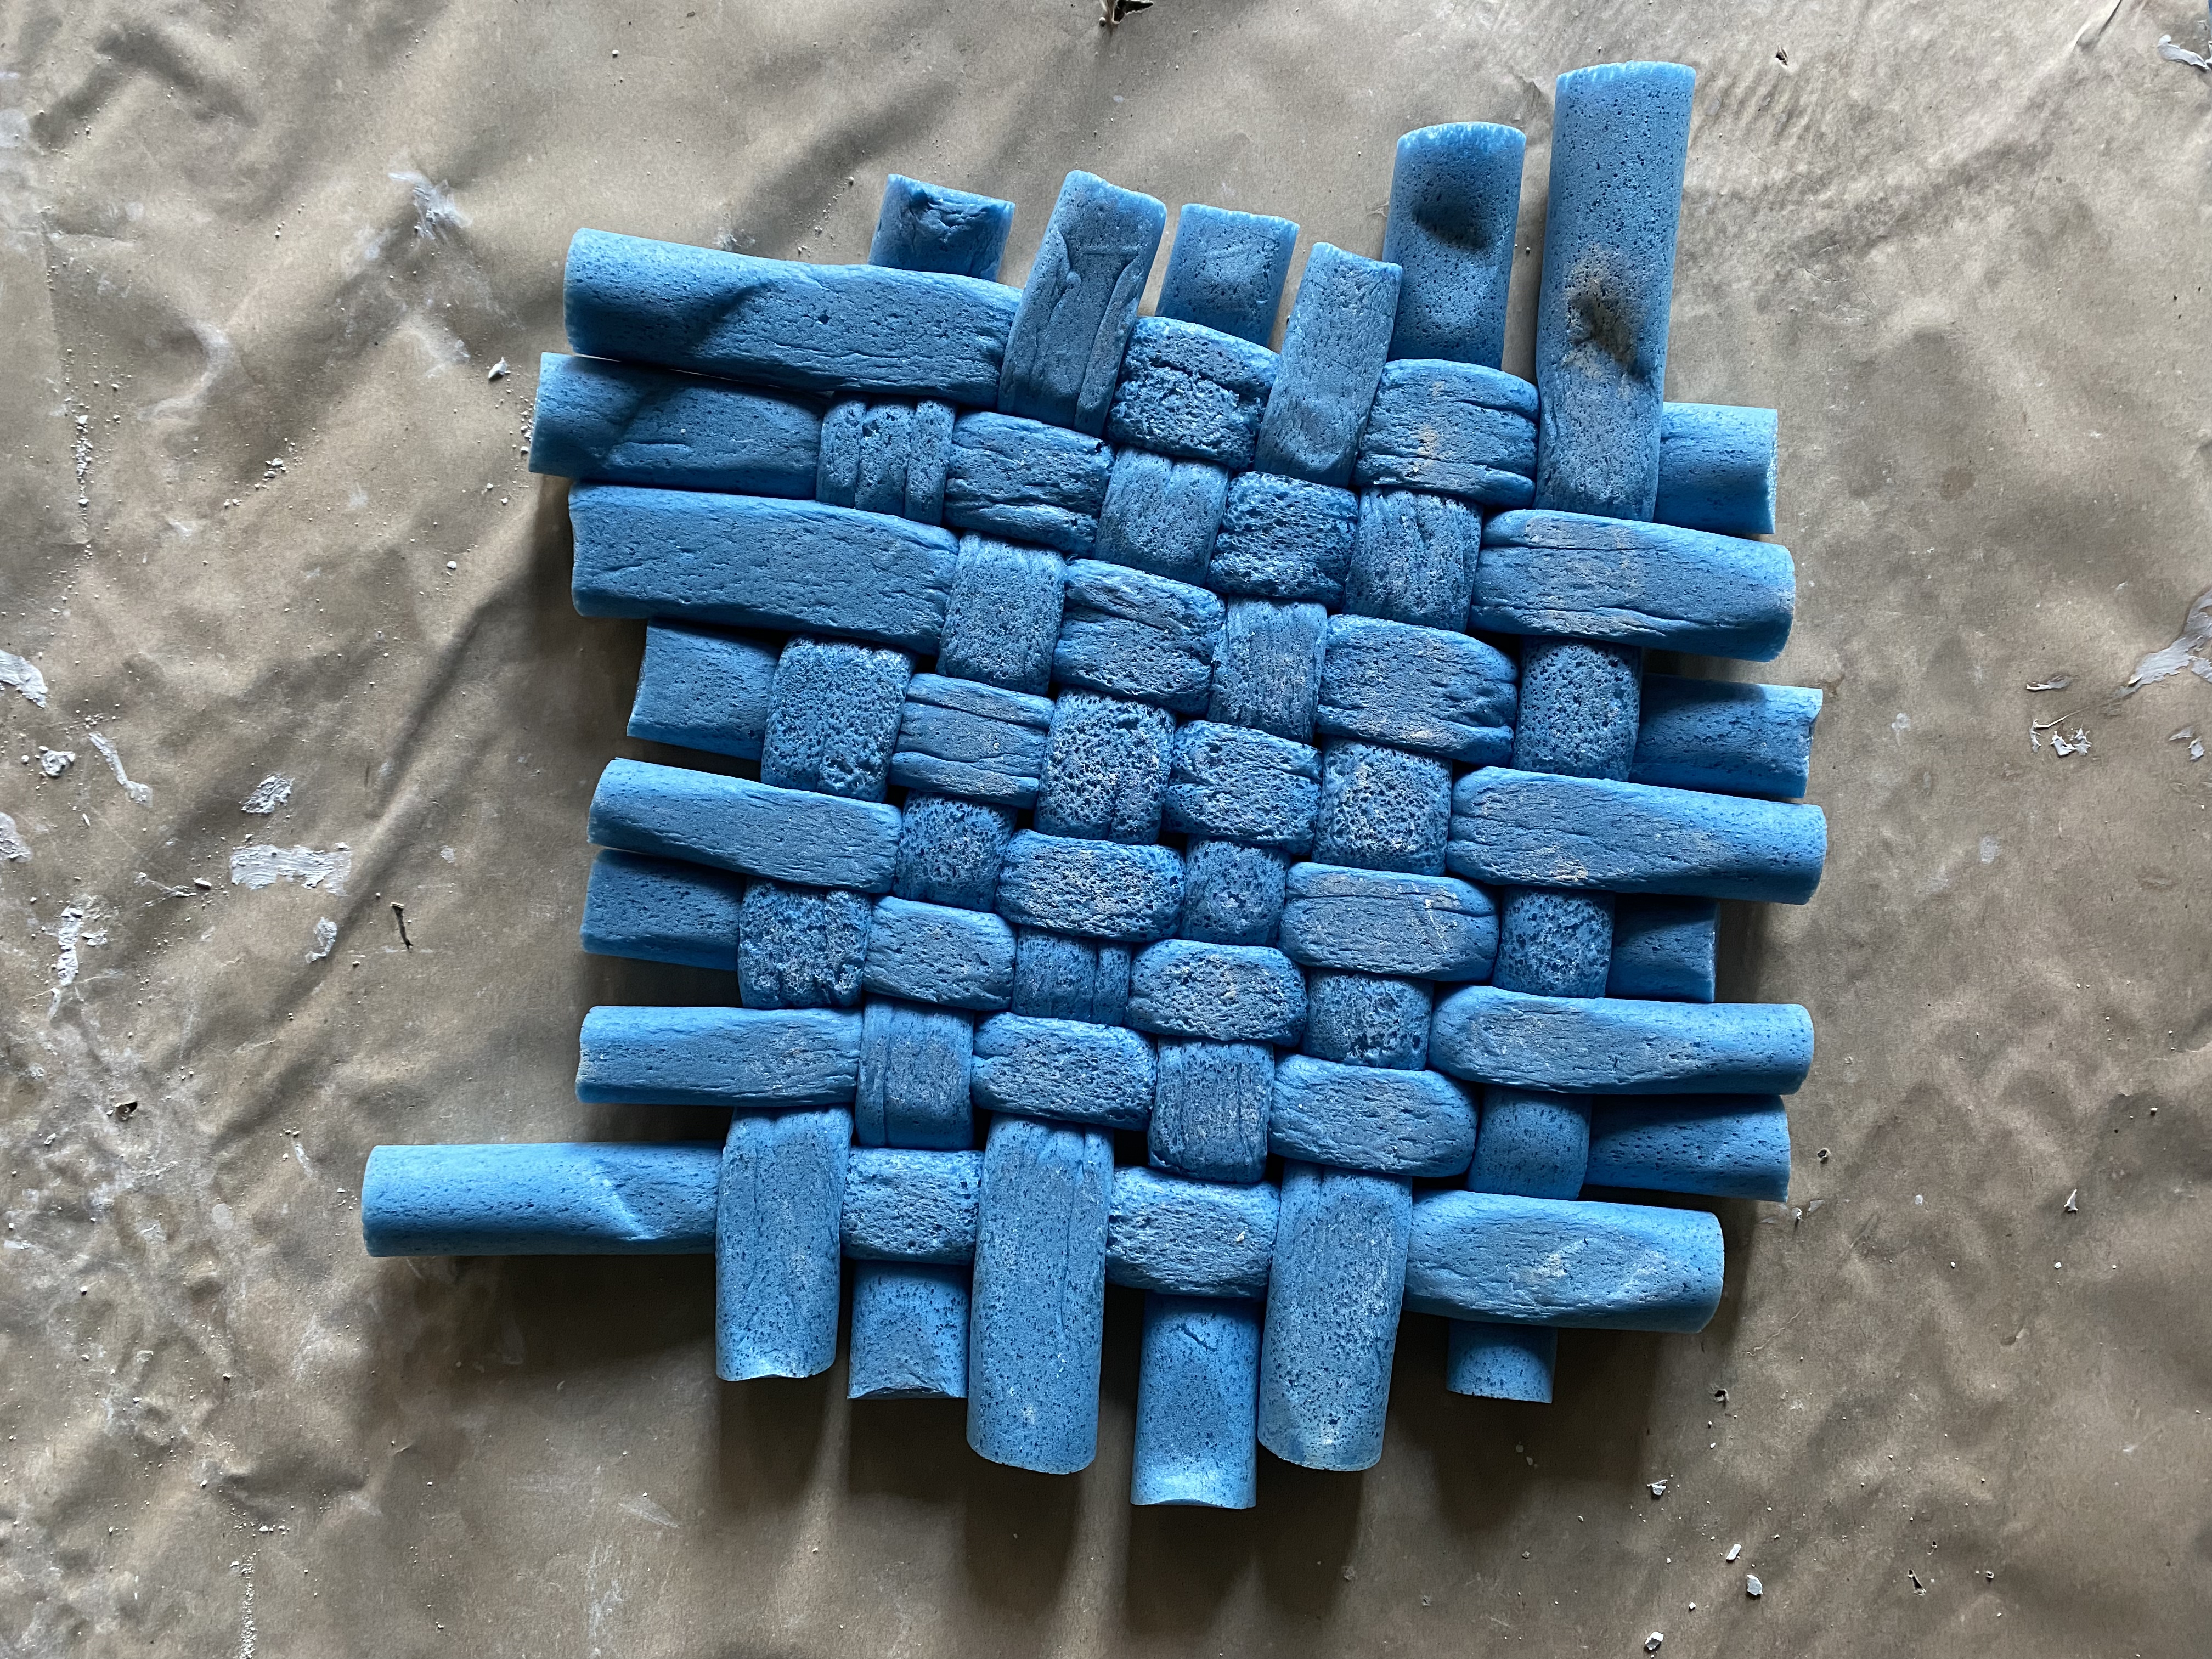
And this was the final result when all of the strips were woven together!
I made sure to leave a very heavy weight on top of the pattern overnight, hoping that it would force the shape to be much more flush with the surface, and it did work to some extent!
Now, after some clean-up and securing into place, I was left with this woven pattern that was ready for information to be imposed onto it.
I tied the ends together to avoid it expanding out of shape
<< back